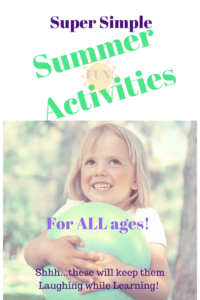
Whether the kiddos are in camp and you’re in search of next week’s plan, or you’re on the downswing from your Fourth of July vacation, we’ve uncovered three amazingly simple summer fun activities to keep the kiddos busy on one or several of your upcoming summer days!
FYI! We use Affiliate Links Below! Read More about this Here
Small disclaimer: Please use discretion when completing these activities with children 4 and under. Adult supervision is required for all of these activities, regardless of ages involved!
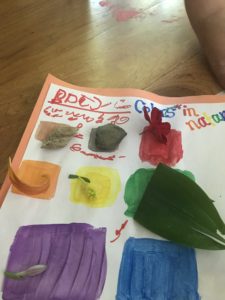
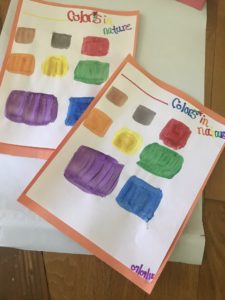 All the Colors of Nature~A Scavenger Hunt
This was sooo much fun and took about 5 minutes to create! Win-Win!
*Heads up! There are affiliate links below! You can read more about that here.
Materials:
- Construction paper (used as a frame for white paper—optional)
- White paper
- Markers, colored pencils or paint (I used paint)
- Small baggie for collecting scavenger hunt items
- A backyard or outdoor space
- Small prize (optional of course) I gave my kiddos a cool treat (Italian Ice) as their prize!
That’s it! I created the templates ahead of time for this scavenger hunt but you can certainly have your kiddos create these as well!
Directions: You can read a book about colors (the one below is a FAVORITE of ours) or dive in! Here are some pointers when starting this scavenger hunt:
- What is this scavenger hunt all about?
- After some guesses, you can further their thinking by asking them to look out the window and describe what they see (they will probably say grass, sky, flowers, trees, etc).
- Ask your them to look closely at the colors of nature and describe what they see.
- Explain that nature is full of color and we often forget it’s even there! Today, they will take a closer look at the amazing colors of nature!
Let them know they can fill their bag with as many examples of colors to fill in their charts as possible!
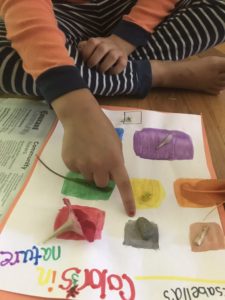
If you’re kiddos get “stuck” during the hunt, you can certainly give them hints (I had to help out with purple and blue)!
Post Hunt:
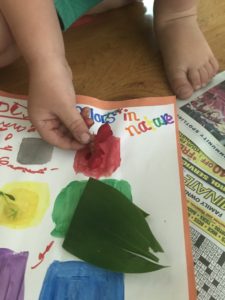
We headed back inside, broke out the Elmer’s School Glue and attached our nature treasures! Such fun!

Simple Summer Fun Activity # 2~ Salt Art!
These simple summer fun activities are such a blast-this one is no exception! We originally found this one on Pinterest (of course).Here are the basic materials (NO worries if you don’t have some of these…we’ll get to that).
Materials:
- Salt or sugar (salt works best)
- Watercolor paints OR food coloring! If not–water down other kid-friendly paint!
- Elmer’s Glue (or any glue that has a small tip tube–if not–see our little shortcut below!)
- Thicker paper like construction paper or card stock…BUT if not, you can use thinner paper (i.e. paper you use for your printer).With thinner paper…the design won’t last because the paper is too thin…but still fun to create!
Here’s a shopping guide for these materials:
Now, let me preface this with the fact that we’ve tried this two or three different ways and we’ve found out a few different things along the way…
Shortcuts IF You Don’t Have Some of the Materials:
- IF you don’t have salt, you can try sugar….but it may not work AS well considering the granules are a bit bigger (note firework picture below)
- IF you don’t have white Elmer’s glue, you can try tacky glue…(which we used with popsicle sticks) but it may not make those fine glue lines like the Elmer’s (again see the fireworks we made below)
- IF you don’t have thicker construction paper the salt art may not hold up as well…as we tried on thinner paper in the pictures shown and, although it’s pretty cool, it won’t last in terms of keeping the shape of the art for long
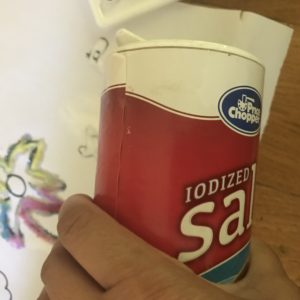
 We didn’t have Elmer’s glue…but that didn’t stop us!
 Our first experiment with sugar and food coloring…came out great!
STILL super fun and a great “experiment” on how water absorption works! Here are some easy pointers you’ll want for this:
- Find a space…we did this activity on the floor with newspaper–but outside on the driveway is awesome too!
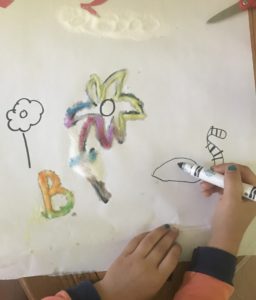
- Use a marker or “free draw” with the glue whatever design you’d like! Fireworks, flowers, animals…let your kiddos get creative.
- Pour salt over glue
- Pick watercolor…be certain there’s enough water and color on the brush
- LIGHTLY touch the tip of the paintbrush to the salt and….boom! The color attaches itself to the salt and spreads….soooo cool!
Check out how we did it below:
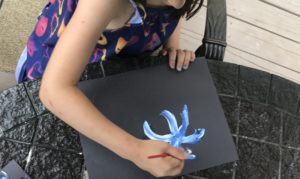
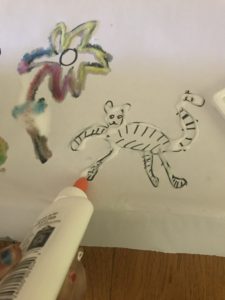
Step One...draw! We used marker…which ran but was easier for our kiddos!
 –Our daughter loves to draw her ideas out first!
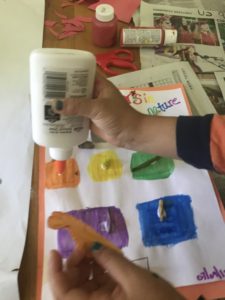
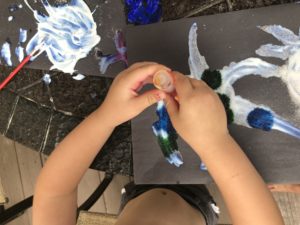
Step Two: Outline with Glue!
Step Two: Add Salt!
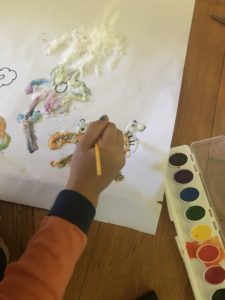
Step Three: Add Water Color or Food Coloring!
‘
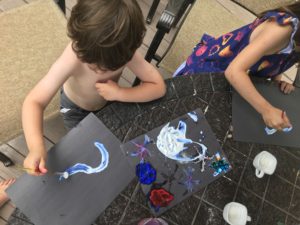
![]() Add Water Color Paints or Food Coloring and–WOW!
Add Water Color Paints or Food Coloring and–WOW!
Finished!

Here’s the finished piece above. Super adorable…now if I could only find a way to preserve it! After an hour or more, the marker faded/ran and the water bled into the paper. If you have any ideas…please comment below!
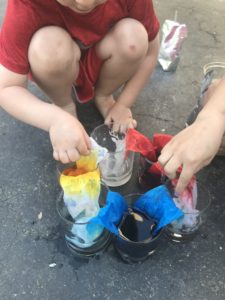
The Walking Rainbow
Ok–this simple summer fun activity is by far the COOLEST! We were amazed at how quickly the water and color traveled through the paper towels!
This goes along perfectly when discussing the idea of absorption (if you wanted to make a lesson out of it you TOTALLY can), this “walking rainbow” is perfect for a warm day! I completed it with a six year old AND a three year old…so no worries on age ranges here…it’s perfect for everyone. It not only demonstrates how water absorbs, but it also shows how, when color is added to water, the color molecules move with the water! SOOOO cool! Check it out:

Used a piece of paper after to dry the paper towels on and created artwork with it!
Here’s the Educational Piece:
For your little ones learning about colors:
Primary Colors: There are 3 primary colors–red, yellow and blue! These are called primary because they are used to create other colors!
For older kiddos ( as well as little ones! You can still review what primary colors with older ones as well!)
Capillary Action: When liquid (like water) moves through a source (like a paper towel) against gravity.
There is also this ADORABLE worksheet from Fun Learning for Kids: 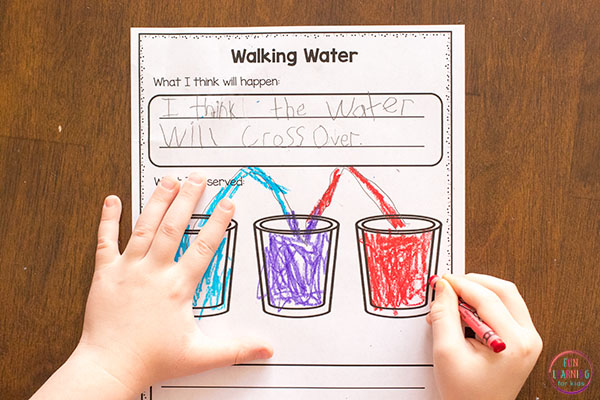
Here’s the link to grab the FREE worksheet: https://funlearningforkids.com/rainbow-walking-water-science-experiment-kids/
Easy–Peasy Materials You Will Need For This:
- SEVEN Clear, wide mouth cups
- Food coloring (primary colors)
- Water
- 7 or more Paper towel sheets–we cut long enough pieces to fit from one cup into another.
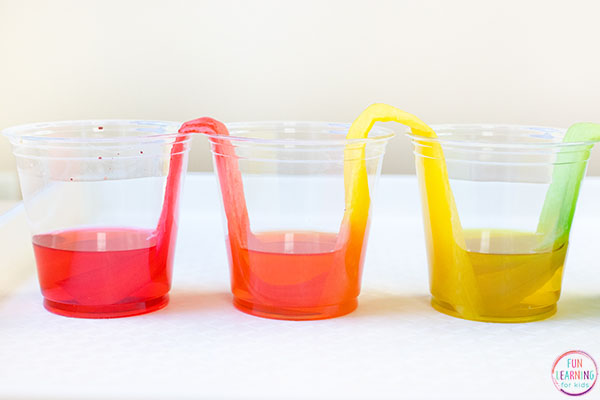
Photo courtesy of Fun Learning for Kids: https://funlearningforkids.com/rainbow-walking-water-science-experiment-kids/
Question to Ask Your Kiddos:
- What do you think will happen to the paper towel once it’s in water?
- What do you think will happen to the water?
- What is happening now?
- Why do you think the colors are changing?
- Why might the water be able to move up against gravity like that?
How this Science Experiment Works:
The water moves up the paper towels through a process called capillary action. The paper towel is made from fibers and the water is able to travel through the gaps in the fibers.
The gaps in the paper towel act like capillary tubes and pull the water upward.This is what helps water climb from a plant’s roots to the leaves at the top of the plant or tree.
The water is able to move upward against gravity because of the attractive forces between the water and the fibers in the paper towel.
STEPS:
1. Place 7 cups in a circle or in a row and pour water in the 1st, 3rd, 5th, and 7th cup. I poured them almost all the way full. I have since heard that fuller is better.
2. Add 5 drops of red food coloring to the 1st cup and the 7th cup.
3.Add 5 drops of yellow food coloring to the 3rd cup.
4. Add 5 drops of blue food coloring to the 5th cup.
5. Take a half sheet of paper towel and fold so they look like the picture below.
6. Trim off some of the length so it’s not sticking out of the cup too high—the water and color will “walk” quicker this way!

Watching the magic happen
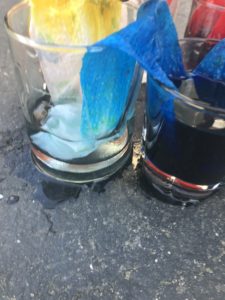
8. Place one half of a rolled paper towel in the 1st cup and place the other half in the cup next to it. Then another paper towel from 2nd cup and into the 3rd cup.
Watching the color travel within the paper towel!
9. Continue until you have placed the last paper towel that drapes over from the 6th cup to the 7th cup.
Now the fun begins! Watch the cups! You should see the colored water begin to crawl up the paper towel.
**Because I completed this with little ones, we set a timer and checked in on the experiment every three to five minutes to see the changes!
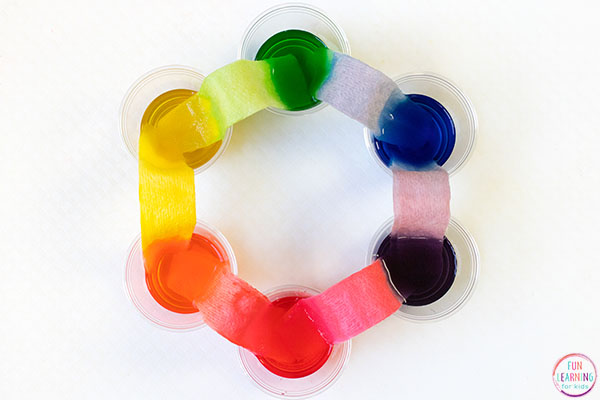
Photo courtesy of Fun Learning for Kids: https://funlearningforkids.com/rainbow-walking-water-science-experiment-kids/
Do you have a favorite activity you would love to share with us? Share it in our comments! We would LOVE to hear from you!
Wait-there’s More!
If you’re looking to expand on the water absorption theme or just looking for simple summer activities…check out some of our top activities here:
We LOVE, LOVE, LOVE to hear from you! Leave us a comment below!